How to Set Up a Canon Printer for Wireless Printing
Setting up your Canon printer for wireless printing is a convenient way to eliminate the hassle of cables and printing from any device connected to the same network. Whether you’re using a computer, smartphone, or tablet, wireless printing lets you easily send documents and photos to your Canon printer without needing to physically connect it. This guide will walk you through the steps to get your Canon printer connected to your Wi-Fi network.
Prepare Your Printer and Network
Before you begin the setup, make sure your Canon printer and Wi-Fi network are ready.
- Printer On: Ensure your printer is powered on and ready for setup.
- Wi-Fi Network: Make sure you have access to a stable Wi-Fi network and know your Wi-Fi name (SSID) and password.
- Wi-Fi Router: The printer and your devices need to be connected to the same Wi-Fi network.
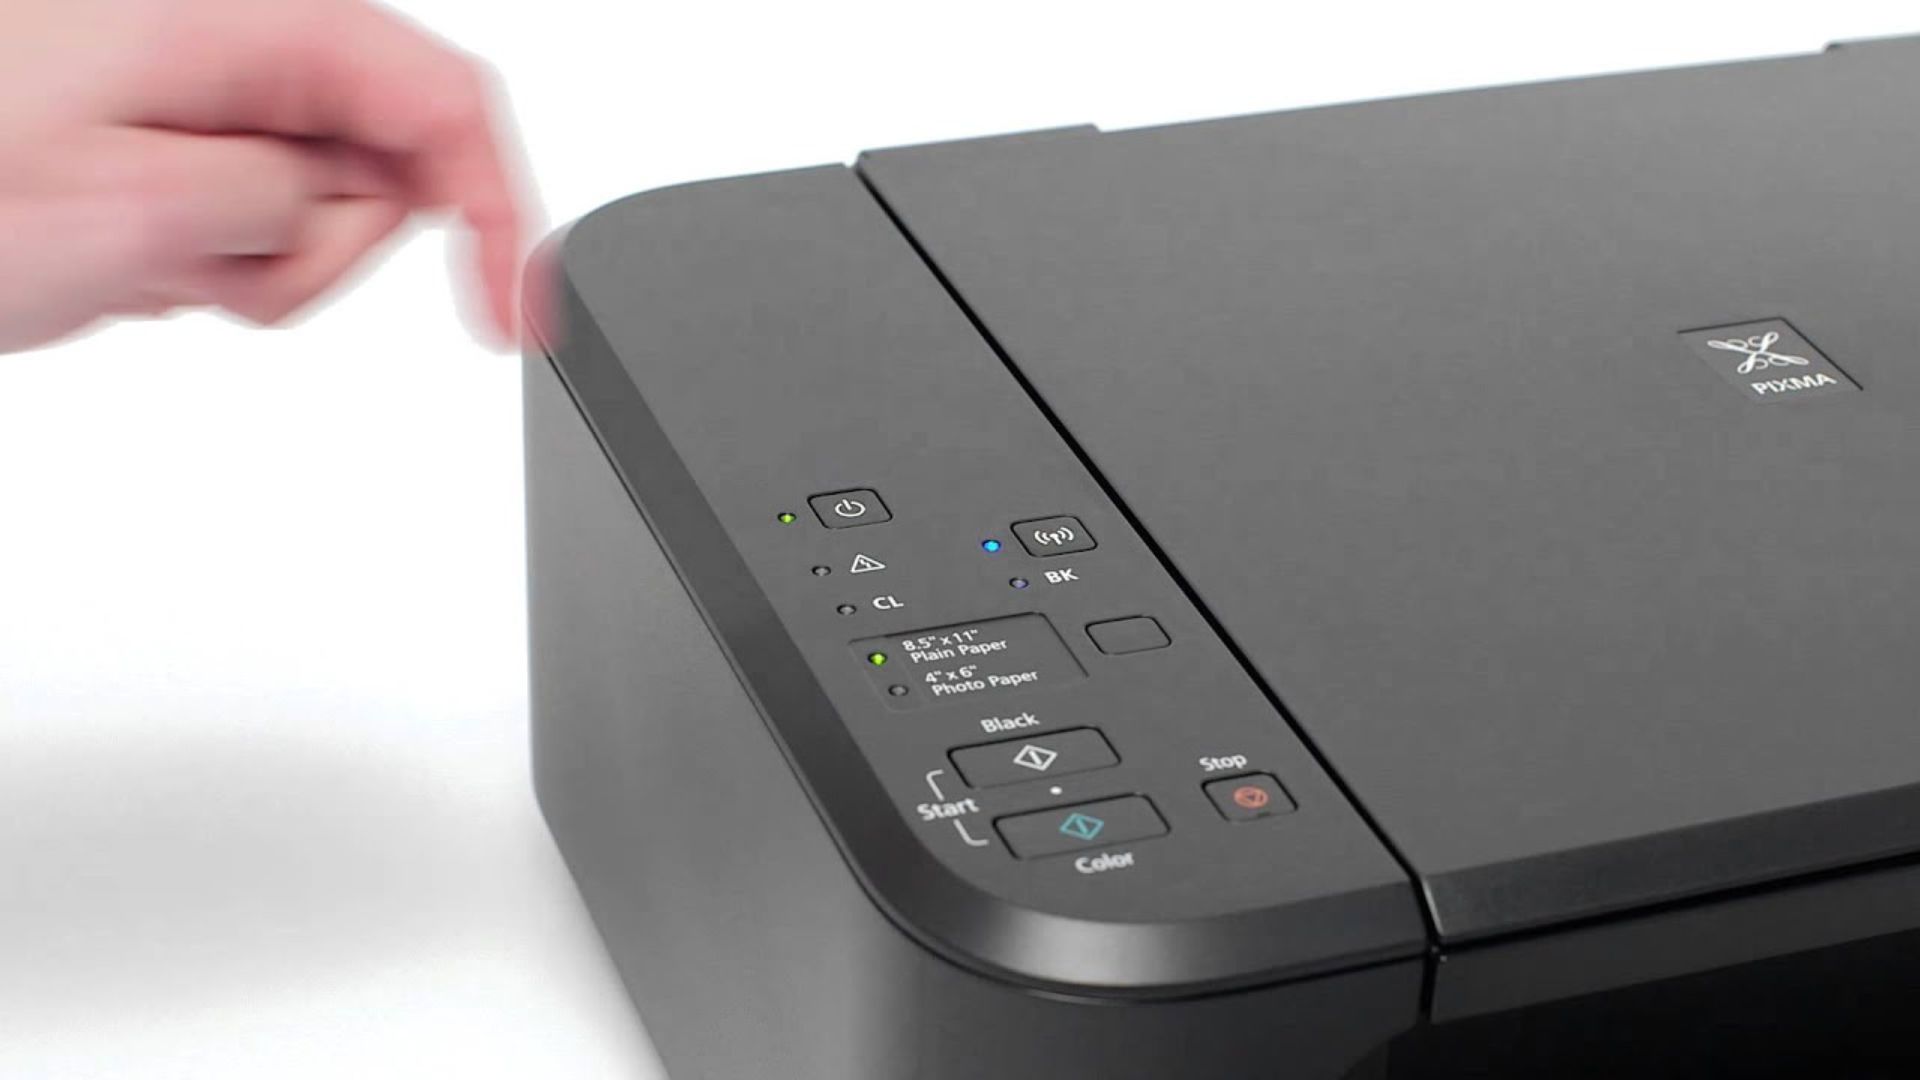
Connect the Printer to Wi-Fi Using the Control Panel
Canon printers usually have an easy-to-use control panel for connecting to Wi-Fi. Here’s how to do it:
- Access Wireless Settings:
- Press the “Menu” button on the printer’s control panel.
- Navigate to the “Wi-Fi Setup” or “Wireless LAN Setup” option (it might vary depending on the model).
- Select Wi-Fi Setup:
- Choose the “Wireless Setup Wizard” option. This will search for available Wi-Fi networks in the vicinity.
- Choose Your Network:
- From the list of available networks, select your Wi-Fi network (SSID). If your network isn’t listed, ensure the printer is in range of your router and try again.
- Enter the Wi-Fi Password:
- Use the printer’s control panel to enter your Wi-Fi network password. Make sure the password is correct (it is case-sensitive).
- Confirm Connection:
- Once the password is entered, the printer will attempt to connect to the network. Wait for a confirmation message indicating that the printer is successfully connected to Wi-Fi.
Install the Printer on Your Computer
Once your Canon printer is connected to the Wi-Fi network, you need to install the printer on your computer.
For Windows:
- Open “Control Panel” and go to “Devices and Printers”.
- Click on “Add a Printer” and wait for your Canon printer to appear in the list.
- Select your printer, and follow the on-screen instructions to complete the installation.
For macOS:
- Open “System Preferences” and click on “Printers & Scanners”.
- Click the “+” button to add a printer.
- Select your Canon printer from the list of available devices, and follow the prompts to finish the setup.
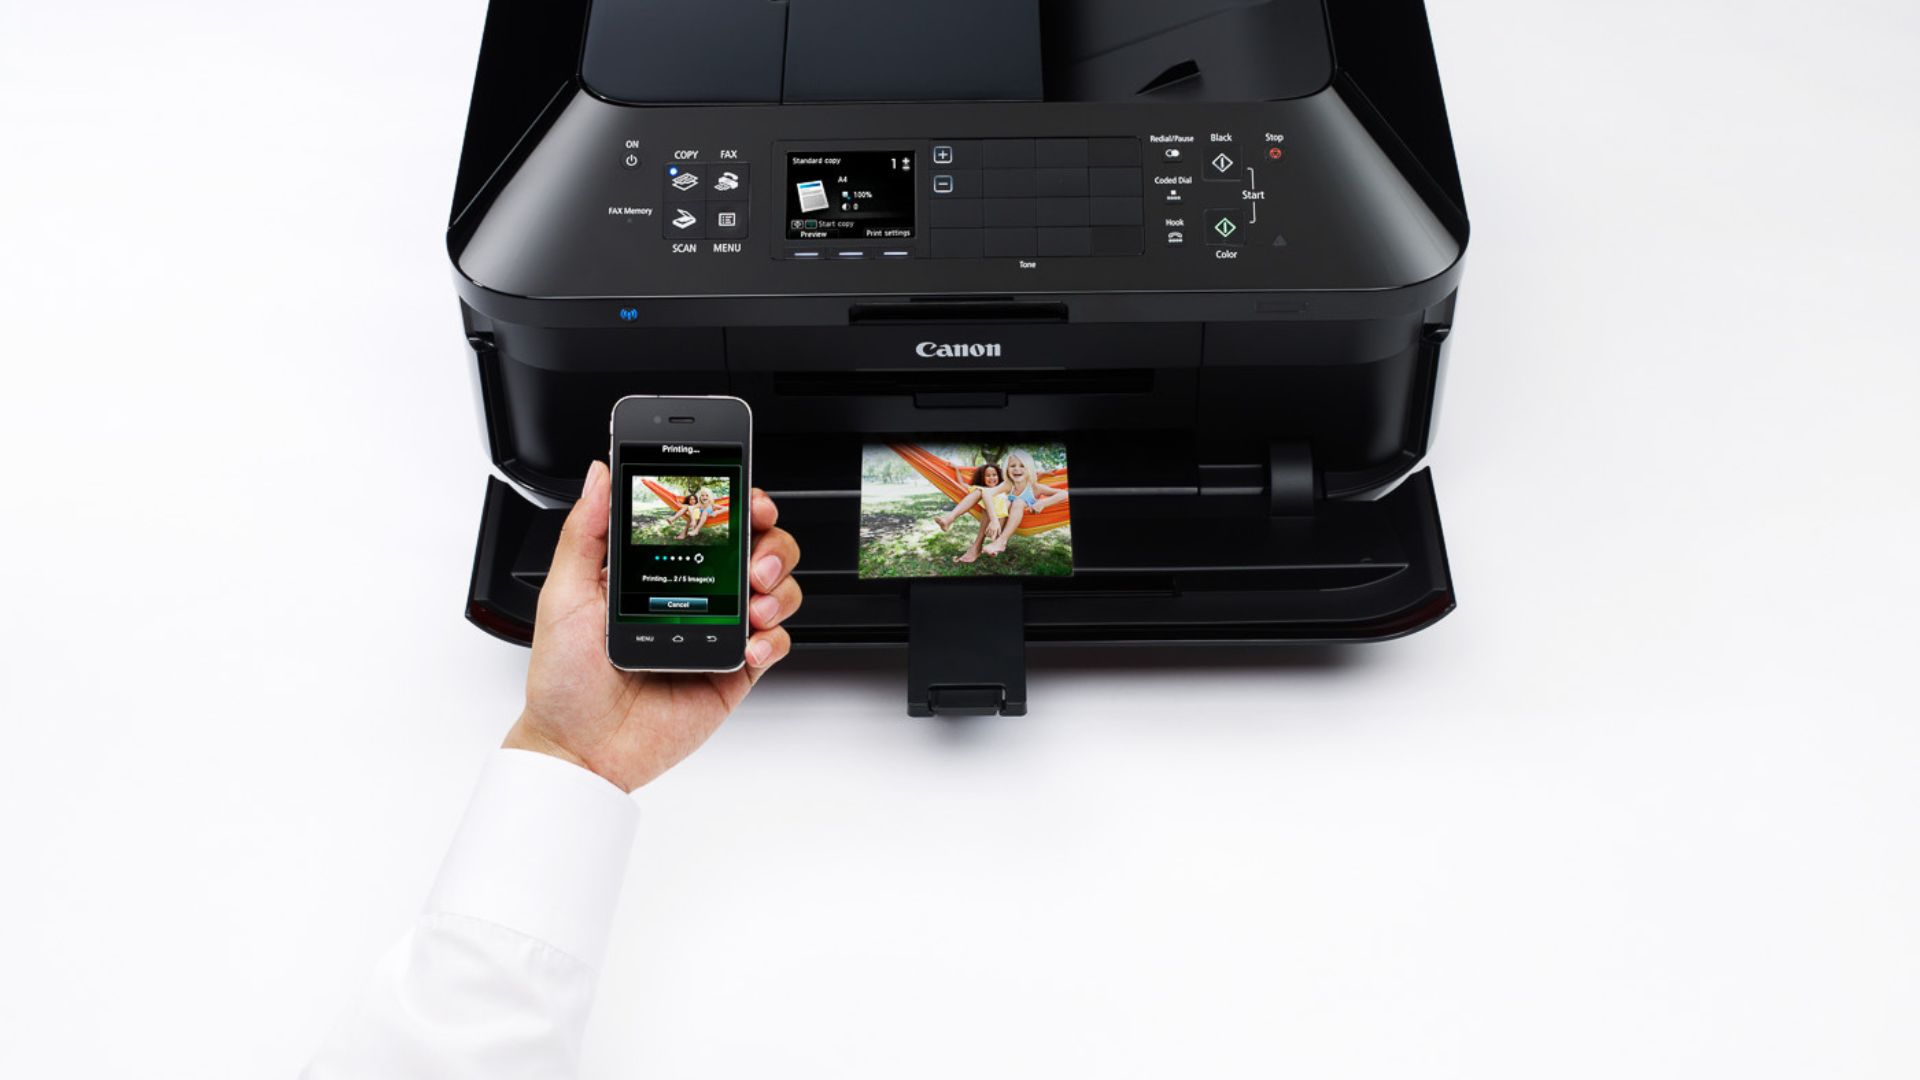
Enable Mobile and Cloud Printing (Optional)
Canon printers often support mobile printing, allowing you to print from smartphones and tablets.
- Apple AirPrint (for iOS Devices): Ensure your printer and iPhone/iPad are on the same Wi-Fi network. Open a document or photo, tap “Share”, and select “Print”. Choose your Canon printer and print directly.
- Google Cloud Print (for Android Devices): Install the Google Cloud Print app on your Android device and follow the setup instructions. Once set up, you can print from any device that supports Cloud Print.
- Canon PRINT Inkjet/SELPHY App (for iOS and Android): Download and install the Canon PRINT app from the App Store or Google Play Store. This app lets you print from your smartphone or tablet, access the printer settings, and more.
Test the Wireless Connection
Once everything is set up, it’s important to test the connection to make sure everything is working properly.
- Print a test page or document from your computer or mobile device.
- Ensure the document prints wirelessly without issues.
- If there are any problems, try restarting the printer, the router, or both to refresh the connection.
Troubleshooting Tips
If you encounter any issues during the setup, try the following solutions:
- Check Printer’s Wi-Fi Connection: Ensure the printer is still connected to the correct Wi-Fi network. You can check this via the printer’s settings menu.
- Restart Your Devices: Sometimes restarting your printer, computer, or router can help resolve connection issues.
- Reinstall Printer Drivers: If your computer is not recognizing the printer, reinstall the Canon printer drivers from the official Canon website.
Conclusion
Setting up wireless printing on your Canon printer is simple and allows you to print from multiple devices without the need for physical connections. By following these steps, you can enjoy the convenience of wireless printing from your computer, smartphone, or tablet. If you encounter any issues during setup, Canon’s support website offers additional resources and troubleshooting guides to help you resolve them quickly.