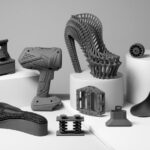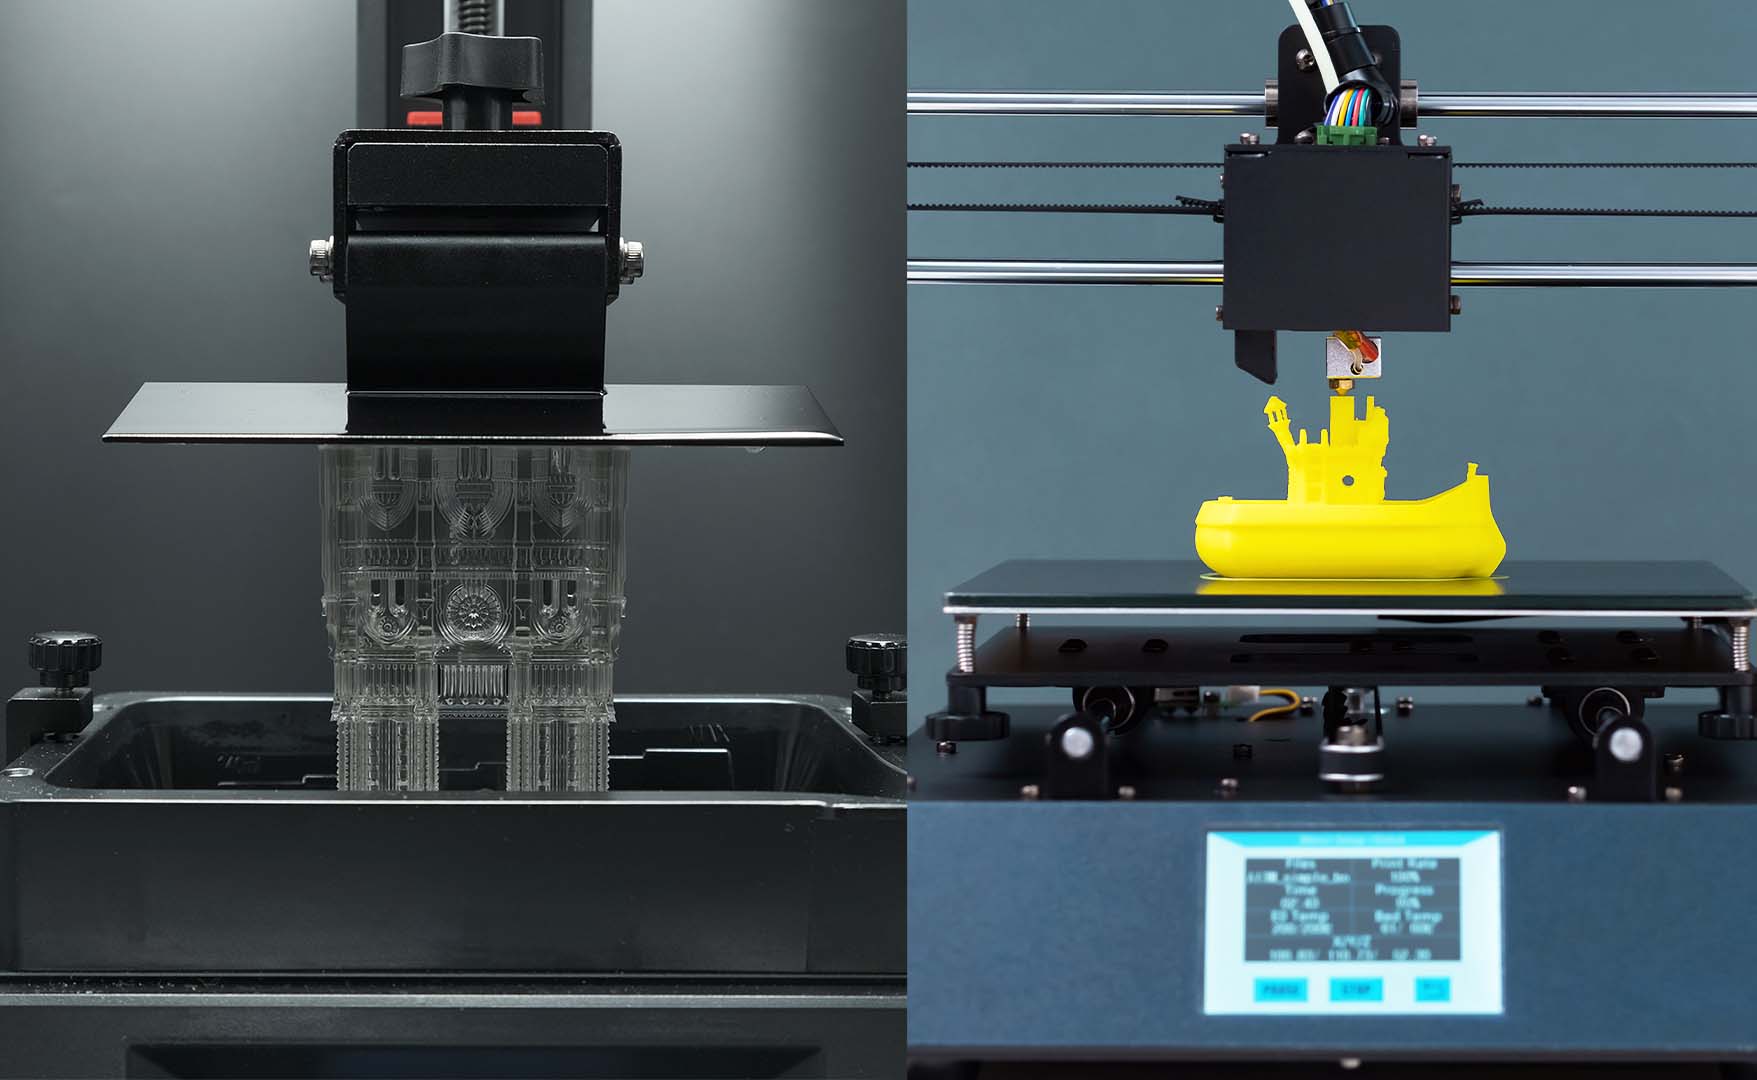
Understanding the Differences Between FDM and SLA 3D Printers
3D printing is an exciting technology, but like any tool, it comes with its challenges. From failed prints to uneven layers, troubleshooting these problems is essential to mastering the craft. This guide covers the most common 3D printing problems and their solutions to help you achieve smooth, successful prints.
1. Warping
The Problem:
Warping occurs when the edges of your print lift from the build plate, distorting the final object.
Causes:
- Uneven cooling of the material
- Insufficient bed adhesion
- Incorrect bed temperature
Solutions:
- Use a heated bed: Set it to the recommended temperature for your filament.
- Apply adhesion aids: Use materials like glue sticks, painter’s tape, or PEI sheets to improve bed adhesion.
- Adjust cooling settings: Minimize fan speeds during the first few layers to ensure even cooling.
2. Stringing or Oozing
The Problem:
Thin strands of filament appear between parts of the print, creating a messy finish.
Causes:
- Excess filament oozing during travel movements
- Incorrect retraction settings
Solutions:
- Enable retraction: Ensure your slicer settings are configured for proper filament retraction.
- Increase travel speed: Faster travel movements reduce the chance of filament oozing.
- Lower printing temperature: Use the lowest recommended temperature for your filament to prevent excessive melting.
3. Layer Shifting
The Problem:
Layers are misaligned, resulting in a shifted or skewed print.
Causes:
- Loose belts or pulleys
- Sudden movements or vibrations during printing
- Stepper motor issues
Solutions:
- Check belts: Tighten loose belts and ensure pulleys are secure.
- Stabilize the printer: Place your printer on a flat, vibration-free surface.
- Inspect stepper motors: Ensure they are functioning correctly and not overheating.
4. Poor Layer Adhesion
The Problem:
Layers fail to bond properly, leading to weak or delaminated prints.
Causes:
- Incorrect printing temperature
- Low extrusion rate
- Poor cooling settings
Solutions:
- Optimize temperature: Set your extruder to the recommended range for your filament.
- Check extrusion rate: Ensure your filament flow rate is calibrated correctly.
- Reduce cooling: Decrease fan speed to allow layers more time to bond.
5. Under-Extrusion
The Problem:
Not enough filament is being extruded, resulting in thin, incomplete layers.
Causes:
- Clogged nozzle
- Incorrect extrusion multiplier settings
- Poor-quality filament
Solutions:
- Clean the nozzle: Use a cleaning filament or needle to clear blockages.
- Calibrate the extruder: Adjust your slicer’s extrusion multiplier.
- Use high-quality filament: Ensure your filament is free of debris or inconsistencies.
6. Over-Extrusion
The Problem:
Too much filament is extruded, leading to blobs, uneven layers, or poor detail.
Causes:
- Excessive flow rate
- High printing temperature
Solutions:
- Reduce flow rate: Lower the extrusion multiplier in your slicer settings.
- Lower temperature: Set the extruder to the optimal range for your filament.
7. Print Not Sticking to the Bed
The Problem:
The first layer fails to adhere, causing the print to detach and fail.
Causes:
- Incorrect bed leveling
- Dirty or oily bed surface
- Printing at too low a temperature
Solutions:
- Level the bed: Use your printer’s calibration routine to ensure a flat, even surface.
- Clean the bed: Remove dust or grease with isopropyl alcohol.
- Adjust temperature: Ensure the bed and nozzle temperatures are set correctly.
8. Overheating
The Problem:
Parts of the print appear melted or deformed due to excessive heat.
Causes:
- Insufficient cooling
- High printing temperature
Solutions:
- Increase cooling: Use a part cooling fan to solidify layers faster.
- Lower temperature: Adjust the extruder temperature to the lower end of the filament’s range.
9. Gaps in Top Layers
The Problem:
The top layers of the print have visible gaps or incomplete coverage.
Causes:
- Low infill density
- Insufficient top layers
- Under-extrusion
Solutions:
- Increase infill: Use a higher infill percentage for a stronger base under the top layers.
- Add more top layers: Set your slicer to print at least 6-8 top layers for better coverage.
- Fix extrusion issues: Ensure consistent filament flow.
Conclusion
3D printing can be a trial-and-error process, but understanding common problems and their solutions will save time and frustration. Regular maintenance, proper calibration, and attention to filament settings are key to minimizing issues.
By troubleshooting effectively, you’ll not only improve print quality but also unlock the full potential of your 3D printer. Happy printing!