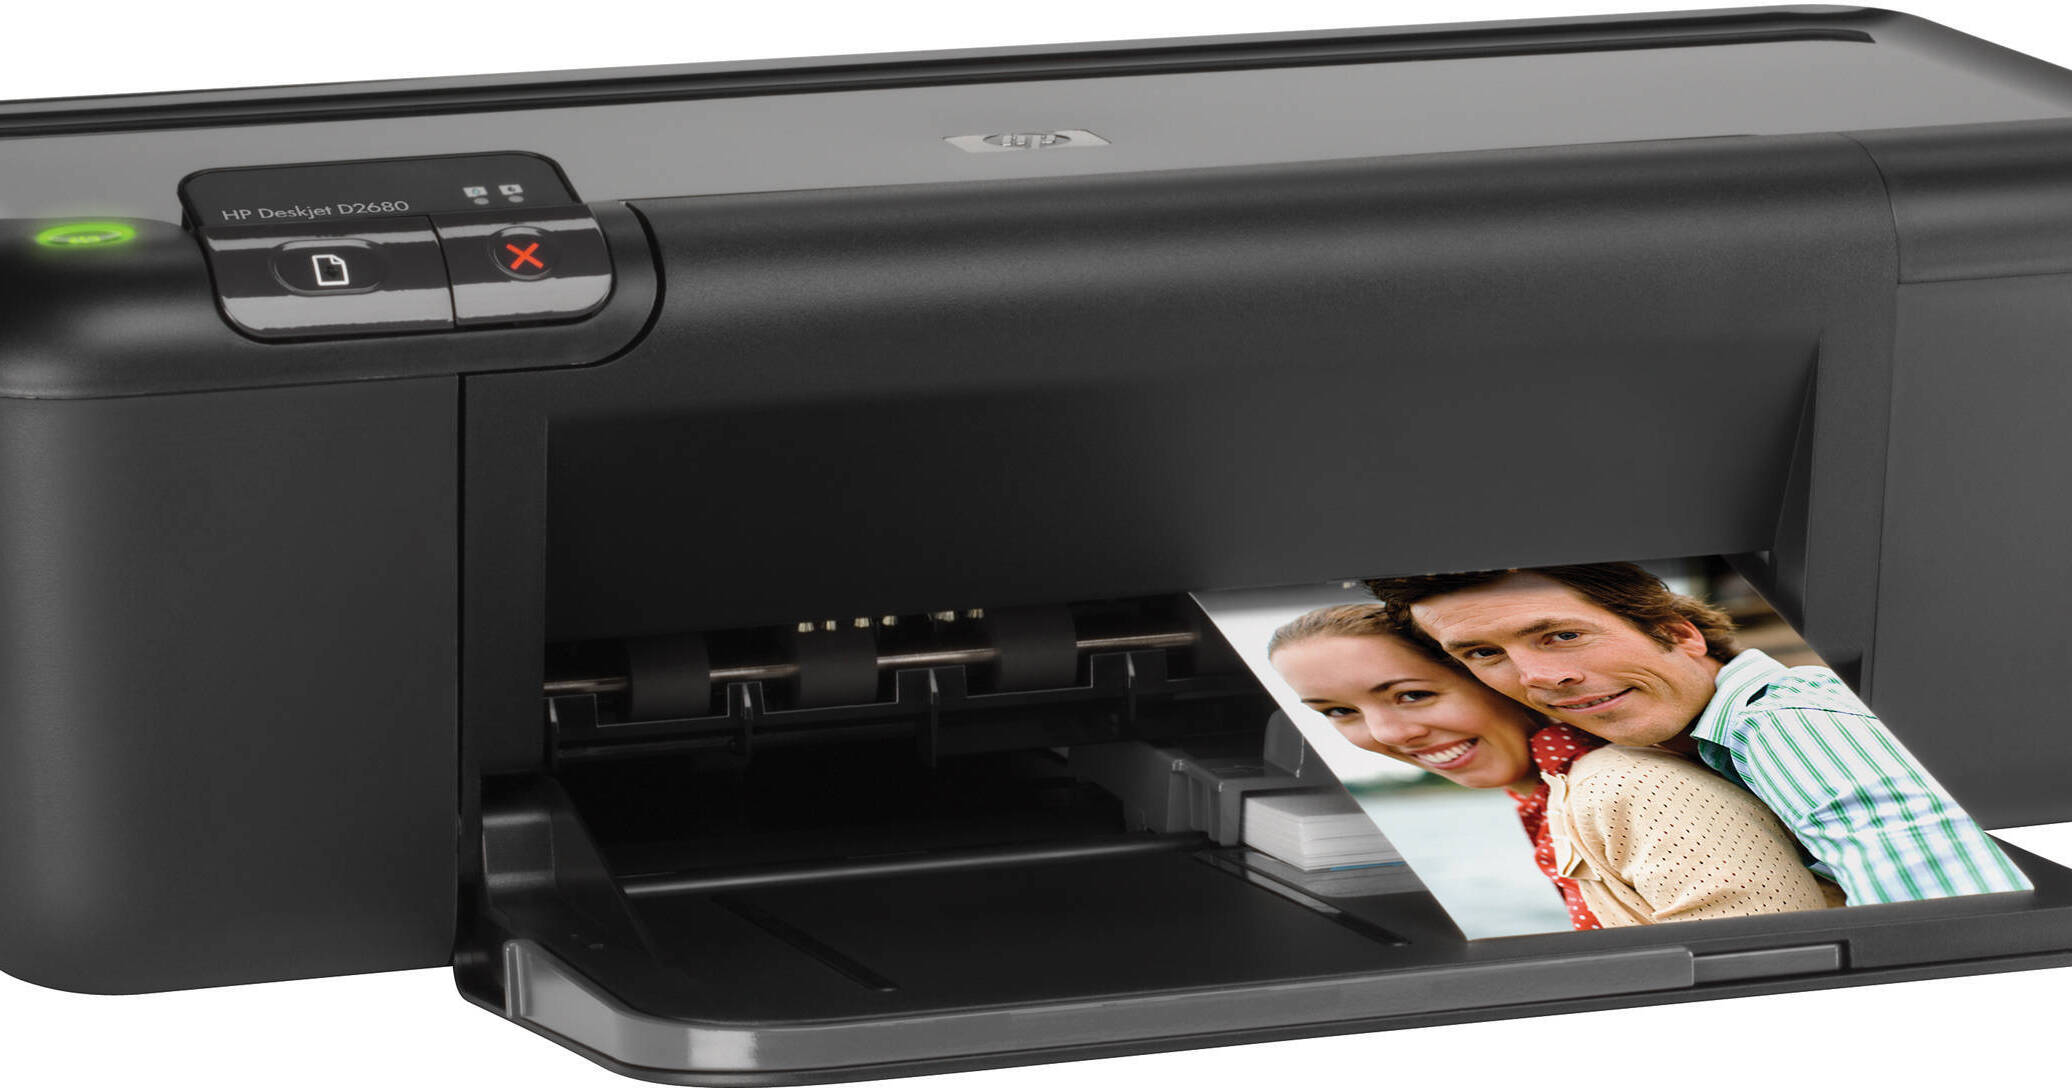
How to Clean and Maintain Your HP Printer: A Step-by-Step Guide
Maintaining your HP printer is essential for keeping it running smoothly and ensuring high-quality prints. Regular cleaning and maintenance not only extend the lifespan of your printer but also help to avoid common printing issues like smudging, paper jams, or poor print quality. In this guide, we’ll walk you through easy and effective steps to clean and maintain your HP printer.
Why Is Printer Maintenance Important?
Proper maintenance helps to:
- Prevent issues like paper jams, ink smudges, and streaks.
- Extend the lifespan of your printer.
- Ensure consistent print quality.
- Optimize performance and reduce the need for repairs.
Regularly cleaning your printer and checking for maintenance needs ensures it operates efficiently and can handle everyday tasks without delays.
1. Turn Off and Unplug the Printer
Before cleaning any part of your HP printer, always ensure that the printer is turned off and unplugged from the electrical outlet. This ensures safety during the cleaning process and prevents damage to the printer’s components.
2. Clean the Exterior
Start by wiping down the exterior of your printer. Dust and debris can accumulate on the surface, and it’s best to clean these off regularly to maintain the printer’s appearance.
How to clean the exterior:
- Use a soft, lint-free cloth dampened with water or a gentle cleaning solution.
- Gently wipe all surfaces, including the control panel, paper tray, and outer casing.
- Be careful not to get any moisture inside the printer, especially around the paper feed area or cartridge slots.

3. Clean the Printer’s Interior
The interior of the printer, particularly the paper feed mechanism and the cartridge area, needs attention. Dust or ink buildup can affect the print quality and cause paper jams.
Steps to clean the interior:
- Open the printer cover to access the ink cartridges and paper feed area.
- Remove the ink cartridges (be sure to place them on a clean, dry surface).
- Use a soft brush or compressed air to gently clean the inside of the printer, focusing on the rollers and the paper path.
- Wipe the rollers with a lint-free cloth to remove any paper dust or ink residue. You can lightly dampen the cloth with water if needed.
- Be gentle around the printhead and other sensitive components to avoid damage.
4. Clean the Printhead
A clogged printhead is one of the most common causes of poor print quality, such as streaks or missing colors. Cleaning the printhead is a simple but essential task to improve your printer’s performance.
How to clean the printhead:
- Many HP printers have a built-in printhead cleaning function that you can access through the printer’s settings or via the HP Smart app.
- Alternatively, you can manually clean the printhead by removing the ink cartridges and gently wiping the printhead with a damp lint-free cloth or isopropyl alcohol. Be very careful not to touch the electrical contacts or nozzle of the printhead.
- Allow the printhead to dry completely before re-inserting the ink cartridges.
5. Clean the Ink Cartridges
Ink cartridges can also get dirty over time, which can lead to blurry or uneven printing. Cleaning the cartridges helps ensure that ink is distributed evenly across the paper.
Steps to clean the ink cartridges:
- Remove the cartridges from the printer.
- Use a soft cloth to gently clean the metal contacts and the nozzle area (the part that dispenses ink).
- Be careful not to touch the ink nozzles directly with your fingers, as the oils can affect the print quality.
- If the printheads are particularly clogged, try running the printer’s cleaning utility again.
6. Maintain the Paper Tray
The paper tray and the paper feed mechanism need regular maintenance to avoid paper jams and ensure smooth printing.
How to maintain the paper tray:
- Remove any paper from the tray and ensure it is free of any wrinkles, creases, or dust.
- Clean the tray by wiping it with a soft cloth to remove any debris or paper dust that can clog the paper feed rollers.
- Make sure that the paper guides are adjusted correctly to avoid misfeeding or jamming issues.
7. Check for Firmware and Software Updates
Keeping your printer’s firmware and software updated ensures it runs with the latest features and security improvements.
Steps to update the printer:
- Visit the HP support website to check for any firmware updates for your specific printer model.
- You can also use the HP Smart app to check for updates and install them remotely.
- Regular updates can fix known issues and improve performance.
8. Perform Regular Maintenance Tasks
To keep your HP printer in top condition, here are a few additional maintenance tasks to perform periodically:
- Run printhead alignment to improve print quality. This can be done through the printer’s settings menu or via the HP Smart app.
- Run a printer self-test to check for issues with alignment, color accuracy, and paper handling.
- Monitor ink levels and replace cartridges before they run out to prevent ink leakage or poor print quality.
9. Use the Printer Regularly
Printers that are not used regularly are more likely to experience issues, especially inkjet printers, where the ink can dry out or clog the printhead. To keep your printer in optimal working condition, use it at least once a week to prevent these problems.
10. Store the Printer Properly
If you need to store your HP printer, especially for long periods, make sure it is stored in a cool, dry place. Cover the printer with a dust cover to keep dirt and dust from accumulating inside.
Conclusion
Regularly cleaning and maintaining your HP printer is a simple but crucial task that can prevent many common printing issues and extend the life of your printer. By following these steps, you can ensure that your printer continues to deliver high-quality prints without interruptions. With proper care, your HP printer will serve you efficiently for years to come.


