How to Start 3D Printing at Home
Starting 3D printing at home can be an exciting and rewarding journey. Whether you’re interested in creating models, prototypes, or even useful items for your home, 3D printing offers limitless possibilities. However, if you’re new to the world of 3D printing, it can seem a little overwhelming at first. This guide will walk you through the basics of how to get started with 3D printing at home, including choosing a printer, selecting materials, and creating your first print.
Choose the Right 3D Printer for Your Needs
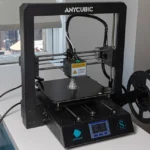
The first step in starting 3D printing at home is choosing the right 3D printer. There are many options available, but most beginners start with FDM (Fused Deposition Modeling) printers, which are affordable, user-friendly, and versatile. Here are some key factors to consider when choosing a 3D printer:
- Type of Printer: For beginners, FDM printers are the most common choice. They are ideal for general-purpose printing and are available at various price points. Resin printers (SLA/DLP) are another option, but they tend to be more expensive and require more maintenance.
- Build Volume: Consider the size of objects you want to print. Entry-level printers usually offer a build volume of around 200 x 200 x 200 mm, which is enough for most small to medium-sized prints.
- Print Quality: Look for a printer with a good resolution and layer height. Most budget printers print at a resolution of around 0.1mm to 0.2mm, which is suitable for general use.
- Ease of Use: Look for a printer with features that make it easy for beginners, such as auto bed leveling, an LCD screen, and an intuitive user interface. Some popular options for beginners include:
- Creality Ender 3
- Anycubic i3 Mega
- Prusa i3 MK3S
Select Your Printing Materials
Once you’ve chosen a 3D printer, you’ll need to select the right 3D printing filament (material) for your prints. Some of the most common materials include:
- PLA (Polylactic Acid): PLA is the most beginner-friendly filament. It’s easy to print with, offers good print quality, and doesn’t require a heated bed. PLA is biodegradable, making it eco-friendly and perfect for most general-purpose projects.
- ABS (Acrylonitrile Butadiene Styrene): ABS is a stronger, more durable material but requires higher temperatures to print. It’s ideal for functional parts but may be trickier for beginners due to its tendency to warp.
- PETG (Polyethylene Terephthalate Glycol): PETG combines the best qualities of both PLA and ABS. It’s durable, flexible, and easy to print with, making it a good option for beginners who want something tougher than PLA.
- Resin: Used in SLA and DLP 3D printers, the resin is great for highly detailed prints but requires more post-processing and can be messy.
For beginners, PLA is the most recommended material. It’s easy to work with and available in a wide variety of colors.
Set Up Your 3D Printer
After purchasing your 3D printer, the next step is to set it up. Most printers come with an assembly guide, but here’s a general overview of what you’ll need to do:
- Assemble the Printer: Many budget printers come semi-assembled, so you’ll just need to attach a few parts. Follow the manual carefully to assemble the frame, extruder, and bed.
- Level the Print Bed: Bed leveling is crucial for successful 3D prints. Many entry-level printers now come with auto bed leveling, but if your printer doesn’t have this feature, you’ll need to adjust the bed manually to ensure it’s perfectly level. A properly leveled bed ensures the first layer of your print adheres well and prevents failure.
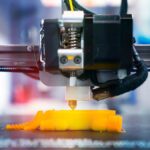
- Load the Filament: Insert the filament into the extruder and heat the printer’s nozzle. This will allow the filament to melt and extrude onto the print bed. Follow your printer’s instructions for loading the filament.
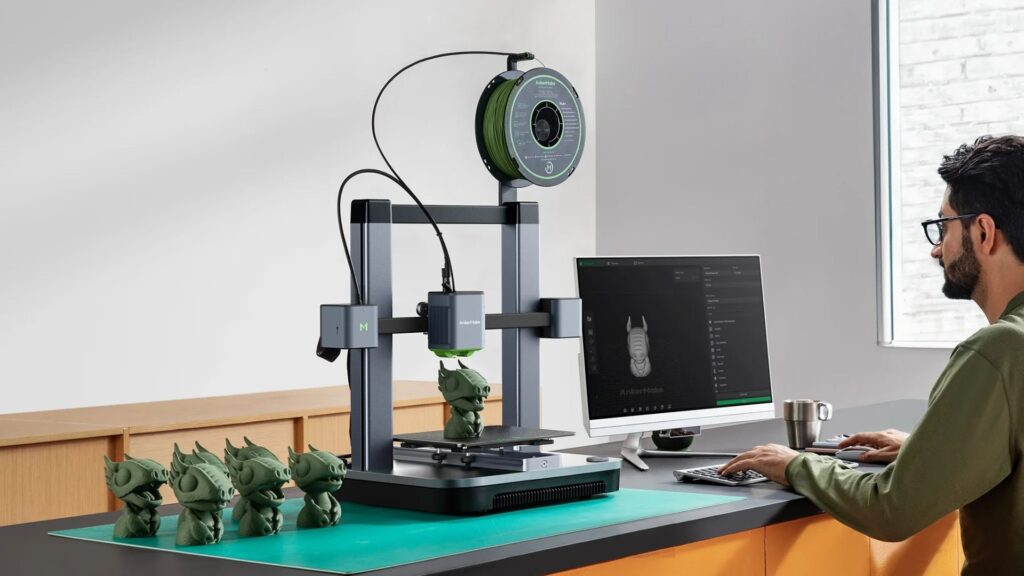
Install Slicing Software
To turn your 3D models into printable files, you’ll need slicing software. This software takes 3D models and slices them into thin layers for the printer to follow. Some common slicing software includes:
- Cura: A free, user-friendly slicing software compatible with many 3D printers.
- PrusaSlicer: A slicer developed for Prusa 3D printers, but it also works well with other printers.
- Simplify3D: A paid slicing software with more advanced features, useful for those who want more control over their prints.
Once you’ve chosen your slicing software, you can adjust settings like layer height, print speed, and infill density to get the best results for your specific project. The software will then generate a G-code file, which tells the printer exactly how to create the object.
Conclusion
Getting started with 3D printing at home is easier than you think! By choosing the right 3D printer, selecting the right materials, and learning the basics of slicing and printing, you’ll be well on your way to creating amazing 3D models. Remember, 3D printing is a learning process, and you’ll improve with each print. So, take your time, experiment with different settings and materials, and enjoy the creative journey!